Learn About Replacing Window Handles While Working From At Home


Replacing Window Handles
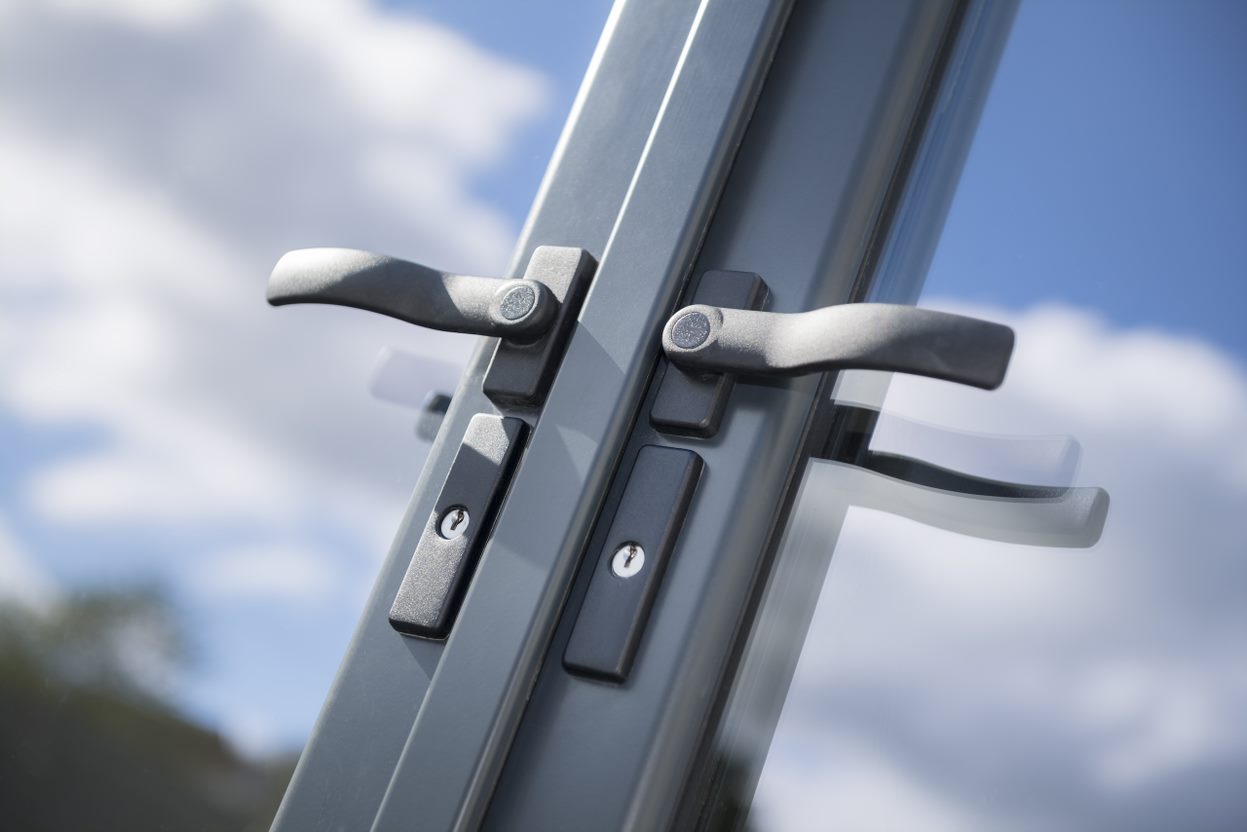
The replacement of window handles can improve the look of your home while also increasing security. It is crucial to select the correct lock and handle to ensure a successful installation.
Start by measuring the width of your window three times and note the smallest measurement.
How to replace the window handle
Switching the handle on your window is a fairly simple project that can be accomplished in a matter of minutes. With the right tools, you can put the new handle installed quickly and securely. The most important thing is to determine the issue and make sure that the new handle is the correct size for the window you have. Once the handle is installed You should test it to ensure that it works as intended.
To replace a window handle, you first need to remove the old one. This can be accomplished by making sure that the window is in the unlocked position and then removing the screws on either side of the handle. After the screws have been removed then you can take out the handle, and then get access to the two screws that hold it in place.
You'll need to measure the spindle length of the handle before you purchase a replacement with the same length. This measurement is the distance between the base of the handle and where the spindle will be within the window frame. Contact a professional if aren't sure how to determine the length of a spindle. They will be able give you precise measurements.
Installing the new handle is simple after you've taken measurements and replaced the spindle. It is important to make sure that the window is not locked and align the handle with the screws that are in place. After the handle is installed, you'll need to insert and tighten the screws.
It is crucial to follow the directions even though it's a simple process. If you don't, you could end having an unsecure handle secured or functions as it should. Additionally, it's recommended to identify any other issues with the window and its mechanism of operation before replacing the handle. For example, a common reason for window handles breaking is that the mechanism for operating wears out due to years of usage. In this scenario it's not necessary to replace the handle, but rather the operator.
Identifying the problem
There are many reasons that could cause the window handle to stop working. It is possible that the handle has fallen out of the window. This is easily repaired by following a few easy steps. It could be that the gears within the handle are worn out and need to be replaced. This is usually done by removing the handle and examining it for indications of wear.
If your windows have multipoint locks installed and are locked with multipoint locks, it's likely to be to be the cause since it's an issue with the mechanism that locks them, not the handle. This is a much more serious issue because it blocks the window from opening from the inside. It can also make it difficult for someone to break in through the window.
It is possible that the splines on your crank operator shaft have become worn and that is a common reason for windows not opening. The most effective way to test for this is by turning the handle and observing whether there are any indications of the teeth on the crank's operator shaft becoming worn. If they do, you'll require a replacement for the crank operator. You can purchase them on the internet or at a local hardware store or home center.
A window that isn't opening is usually due to the crank handle not being properly "nested" within the operator cover. This is often caused by dust, dirt and rust that have built up over time. It may be due to the handles not having been lubricated. Typically this is an easy fix that involves using the longer set screw (available at home centers and hardware stores).
repairmywindowsanddoors 's also important to note that the handle that you will find on your uPVC windows can differ from one type to another. The handles are manufactured differently by different manufacturers, which may result in slight variations in size. As a result, you should ensure that your replacement handle is the right size for your window and lock and this can be determined by measuring the distance between the screw holes on the handle base.
Identifying the new handle
Before you put your new handle into place, you must ensure that you select the right type of handle for your window. Not only will this make sure that your windows are safe, but it will also ensure that the handle fits correctly and operates smoothly. When you are choosing the right handle, you should consider the style, size and lock mechanism. It is also important to consider the longevity of the handle as it is not uncommon for handles to get damaged over time.
The Cockspur handle is a typical handle on older uPVC windows. The handles are equipped with a spindle which goes through the handle's base and into the gearbox inside the window frame. When you turn the handle it turns the mechanism inside and opens the window. Cockspur handles are simple to use and are a great option for security since they can be locked using keys.
Another kind of handle is the espagnolette that is used on modern uPVC windows. These handles are used on tilt and turn windows and when you open the window you can move it either by stretching the operating arm or using an incline crank to rotate the mechanism that opens the window. Espagnolet handles are typically secured by a multipoint locking system, which provides extra security.
You should ensure that the new handle you choose has the proper step height if you are replacing a handle that is a espagnolette. This is the distance from the base of the nose up to the screw. Over time, various step heights were utilized. However 21mm is the norm for uPVC and 9mm for aluminum.
Once you've selected the right kind of handle for your window it's time to get started. Remove the old handle by unscrewing the window with the help of a screwdriver. Make sure you're working in a well-lit area as some screws may be difficult to see. If you're having trouble getting the screws out by turning the handle 90 degrees, and then looking for tiny caps or stickers that cover the screws. Take note of the spindle's length after you've removed the old handle. This will allow you to purchase a replacement spindle that is the same size.
Getting started
There are a variety of options when it comes to replacing the window handle. The first step is to determine the type of handle you need. This will let you select the correct replacement and ensure that the new handle is properly fitted.
Once you've identified the type of window handle you need you can begin shopping. There are a number of different styles and finishes available, so it's important to spend your time in finding the ideal one for your home. The correct handle will ensure that your windows are as safe as they can be, while also adding the perfect touch of class to your home.
Once you have found the ideal handle, it's time to install it. The process is similar to the removal of the old handle, but ensure that you follow the instructions carefully to avoid any issues. Installing the new handle requires the spindle be aligned with the existing screwholes. Once the handle has been installed, screw it into place and then replace the screws.
If you have an older uPVC window, you might need cut the spindle to size prior to installing it. This can be done with either a handsaw or angle grinder. Wear safety goggles and gloves.
You can test the handle following installation to ensure that it works as it should. If you're certain that it's functioning properly, you can place the screw caps back on and enjoy your brand new uPVC window handle.
Replacing the window handle is a relatively simple task that is achievable by the majority of homeowners. You can make your window handles appear and work like new with a little planning and attention. If your uPVC window handles are damaged, make sure to replace them as soon as possible to ensure your windows are protected and ensure your home is secure.